In case you haven't noticed, I love T shirts... I love to cut them up and make other things out of them. They are one of my favorite mediums... I have piles of things I have made from them, and so many more ideas to go. Sometimes these projects become something totally different, and sometimes, a T shirt is just that, a T shirt. I have a very difficult time, leaving them as is... This brings me to today's post... Call it a tutorial if you'd like, what ever makes you feel better.
I had a great trip to a local thrift store the other day, and scored these two great shirts. The best part, I only spent $5.50 for both!

They are a little tight on me, but I can fix that! Today, I started on the black ACDC Shirt with the raglan sleeves. What a great idea I had for those sleeves!

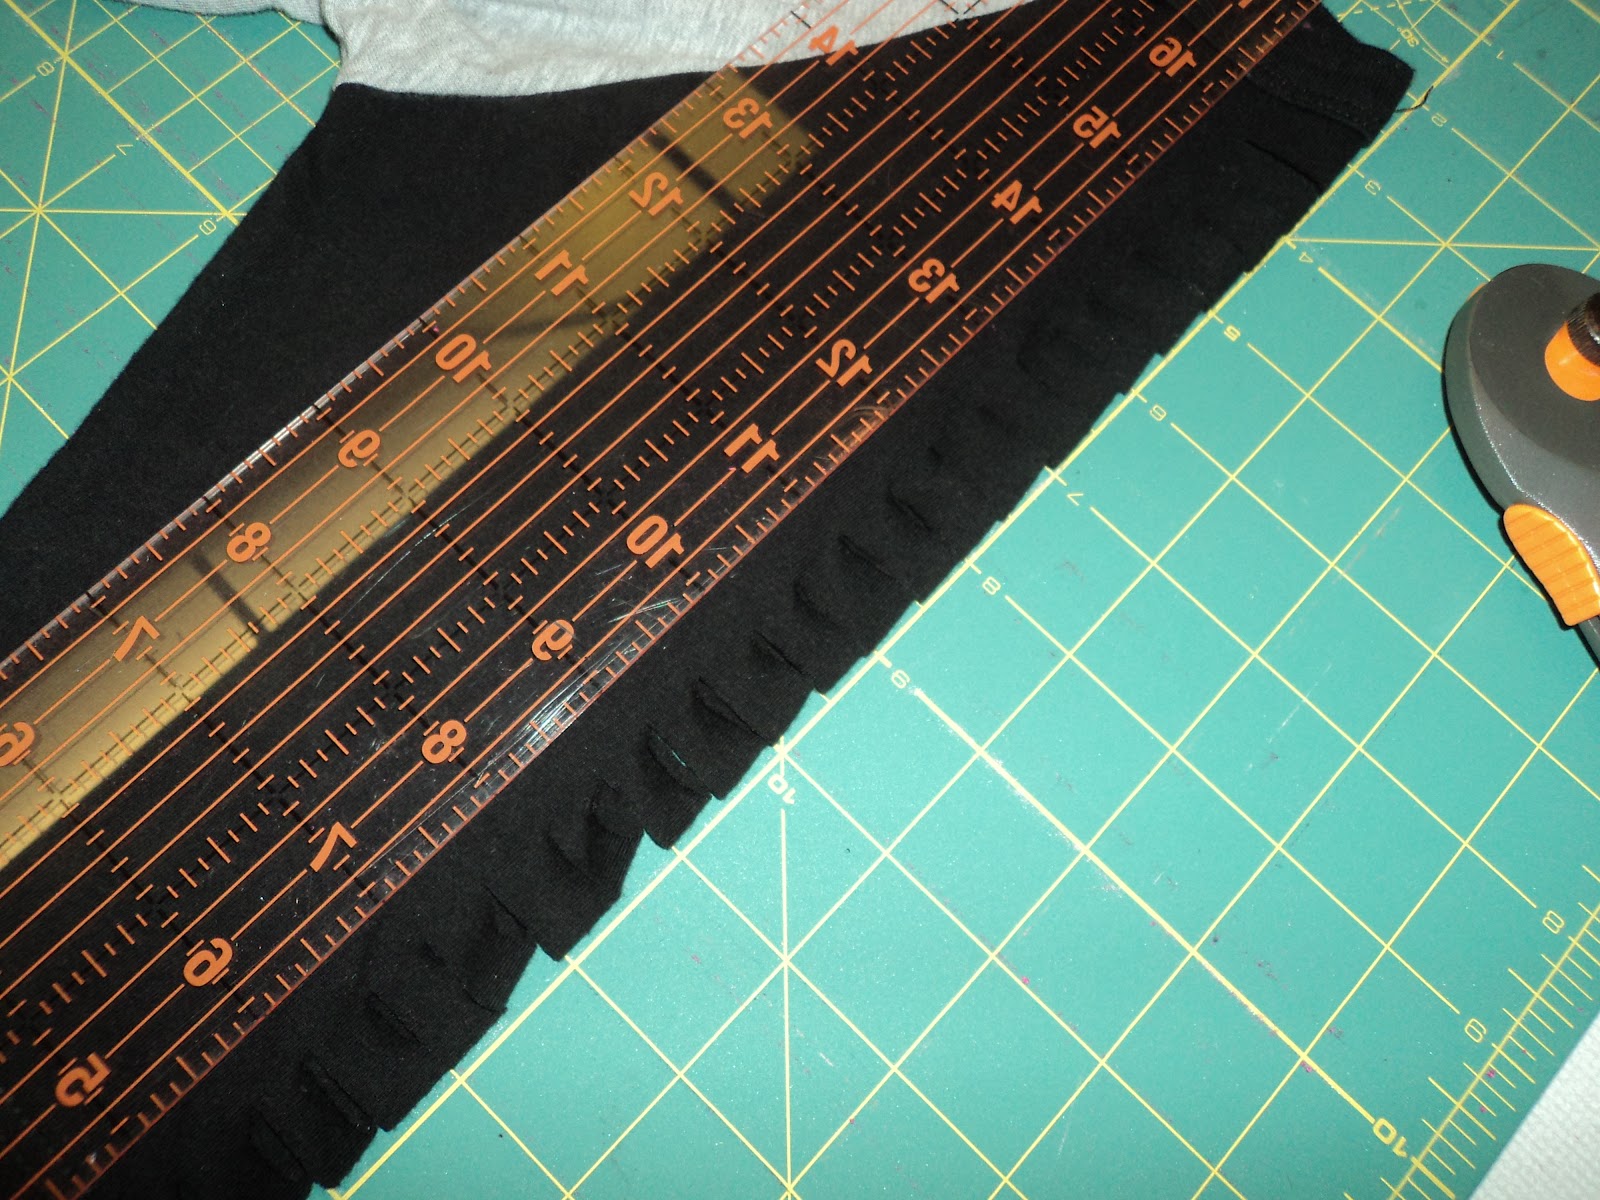
I folded the sleeve flat. along the top, I cut slits about 1/s inch into the shirt, and about 1/2 inch apart. I started about 1/s inch from the neckline, and finished about that far from the hem. I used my rotary cutter, but sharp scissors will work just as well.
This is what it looked like when I unfolded it.

Pull to stretch. the fabric will curl on itself... you want this.


Repeat on other sleeve.
You can stop there, or do more like I did.
Next I wanted to cut the back. How you do this is a matter of personal taste and preference. I don't like to wear a tank under my T's, and I don't like my bra to show, so I just cut at the top of the back. You can cut all the way down, or as far as you'd like. There are no rules! Be creative!
I folded the T down the back, making sure the front was clear. Then I used a piece of paper as a guide and cut my slits down the back. Once again, I used my rotary cutter, but sharp scissors work fine. I spaced these about an inch apart. and got shorter as I went down the shirt. I put the shirt on, and measured from the neck to my bra so I knew where to stop.


I also started about 3 inches down the back, to avoid the "tagless" label in this shirt. If you start too high, it will show when the fabric curls on itself. I found that out the hard way... think black shirt - white stamped label... Ugh!
Pull to stretch, and you are finished!


Here is what it looks like on. It is not as tight, because it stretches more where I have cut it. Might do more later, and get fancier. But this should be enough to get you started.


I would love to hear how this works for you! Send me pics, and I will post them!
Thanks so much for reading!
Happy crafting!
Crafty Claudia
KraftyKlaudia@gmail.com
No comments:
Post a Comment